Finding and Merging Objects
When working with large datasets, you may end up with duplicate or overlapping objects. Open Register provides a powerful search interface to find objects and a merge wizard to combine duplicates into a single authoritative record.
Finding Objects
Using the Search / Views Page
The Search / Views page is your main tool for finding objects across registers and schemas.
- Navigate to Search / Views in the left sidebar
- Use the Filter Objects panel on the right to narrow your search:
- Registers: Select one or more registers to search within
- Schemas: Select one or more schemas to filter by type
- Data Source: Choose between Auto (Intelligent), Database, or SOLR
- Search: Type a search query to find objects by name or content
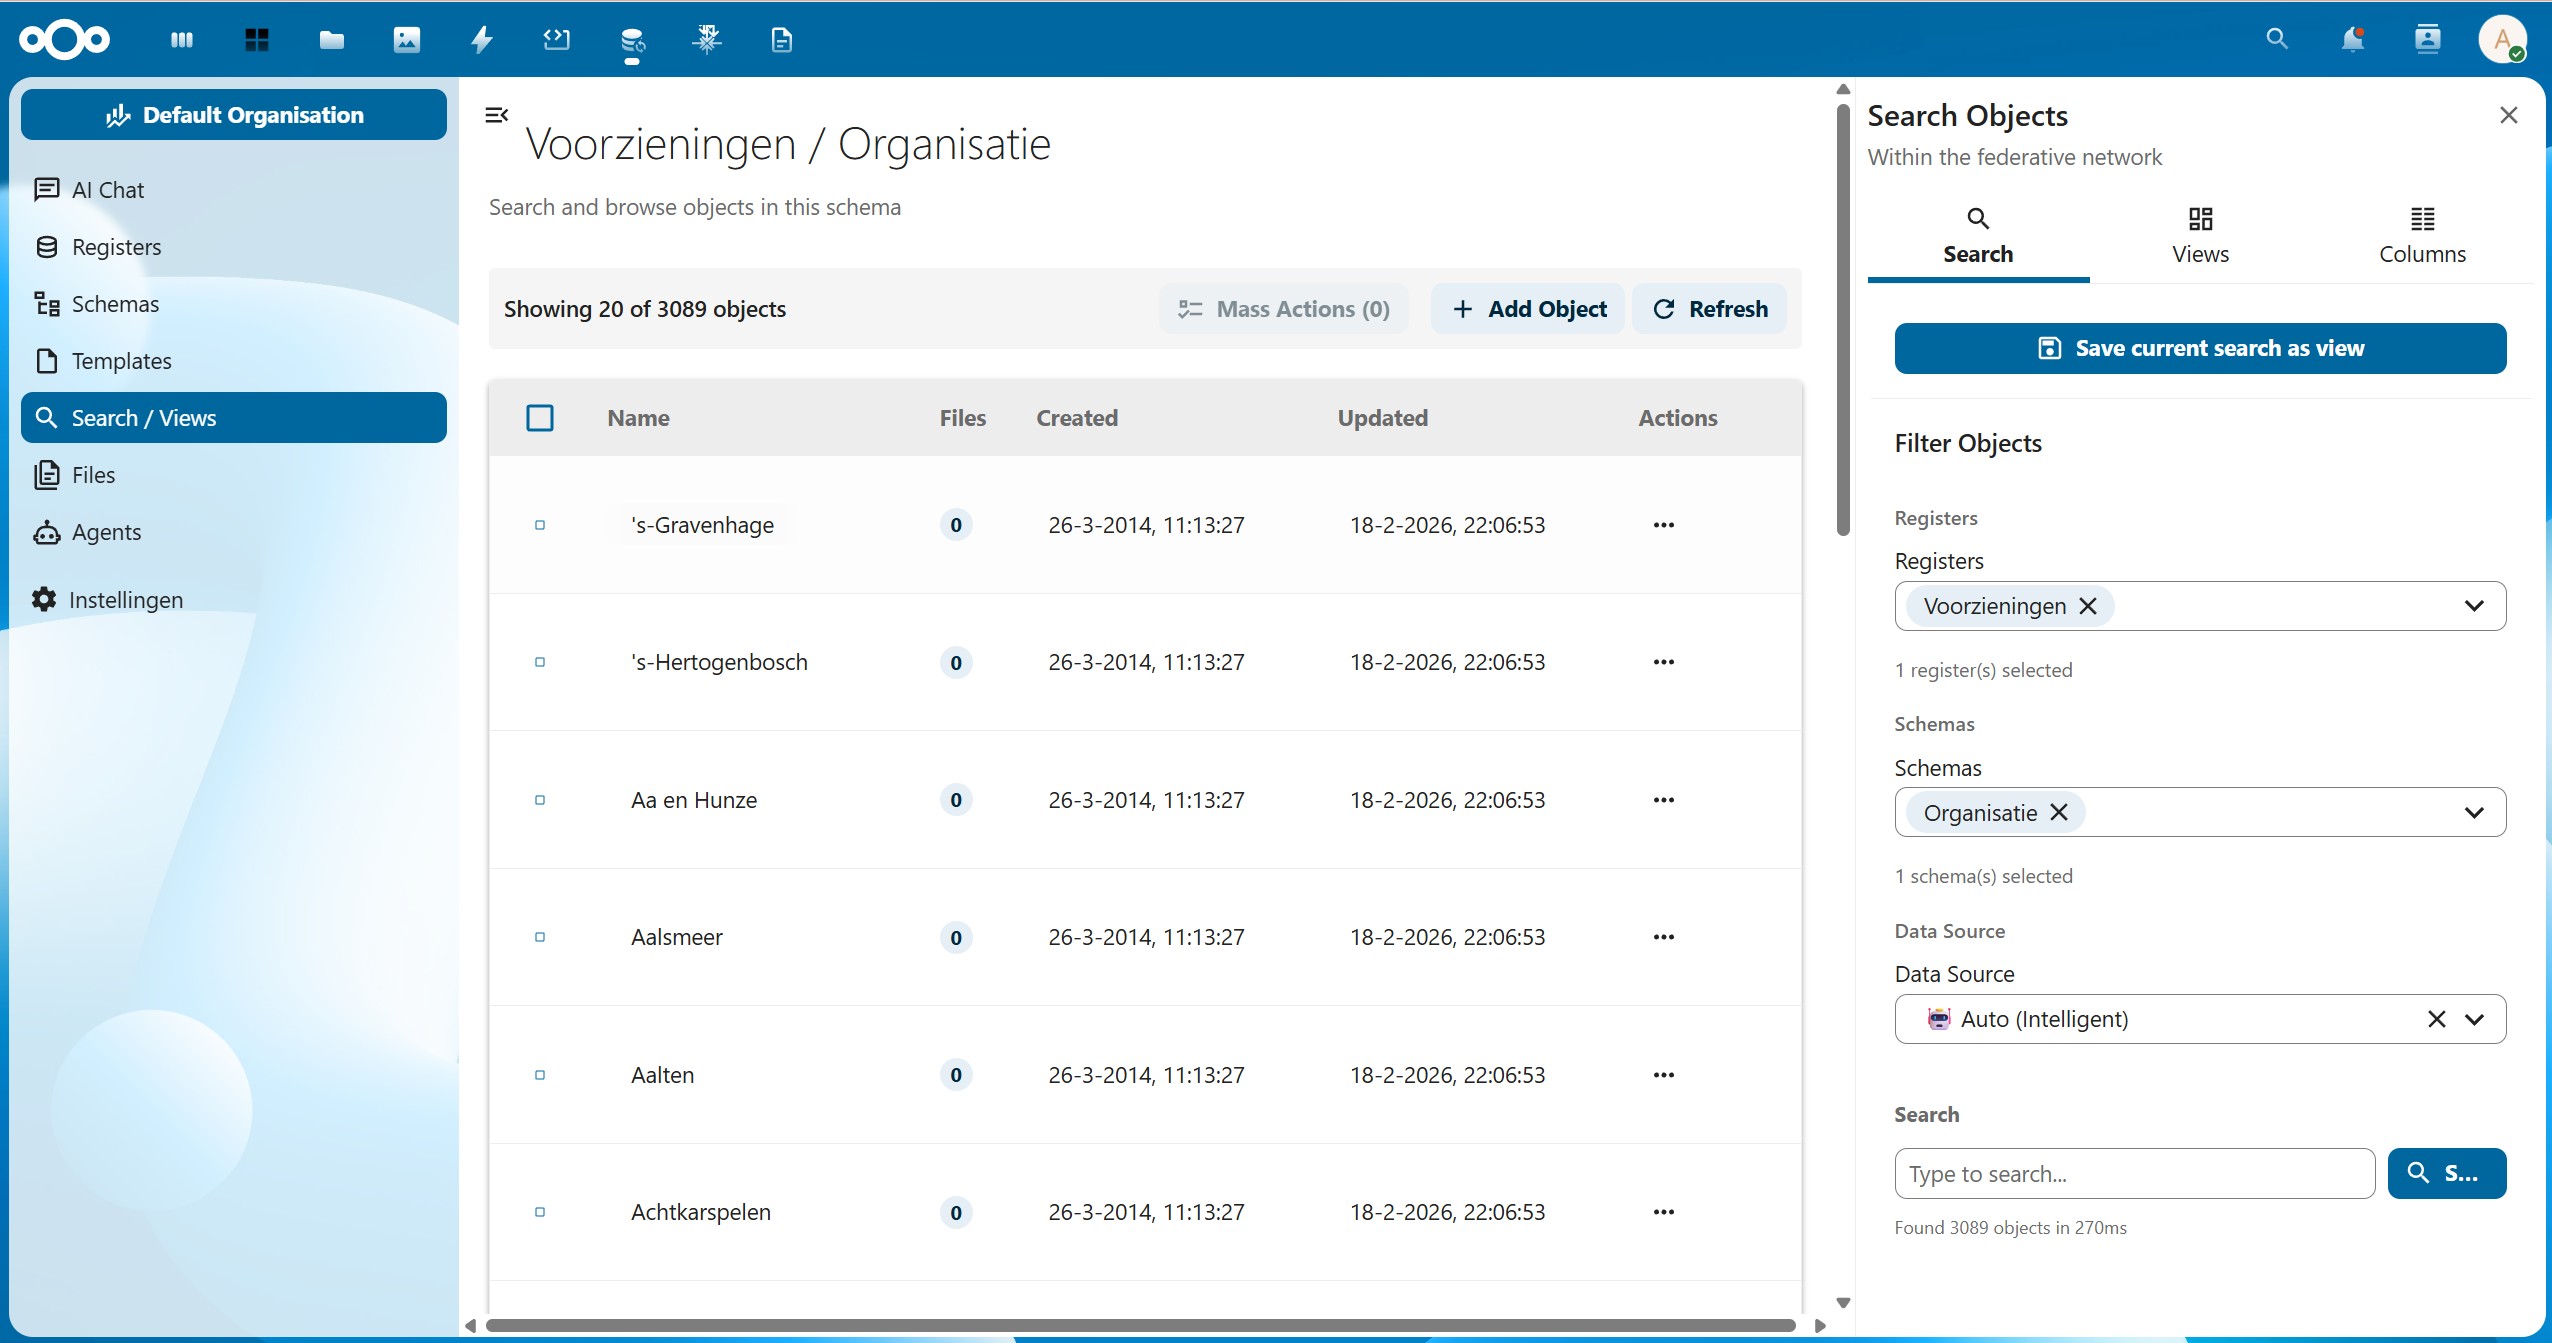
The object list shows:
- Name: The display name of the object
- Files: Number of files attached to the object
- Created: When the object was first created
- Updated: When the object was last modified
- Actions: The three-dot menu for object actions
Saving a Search as a View
If you frequently search for the same combination of filters, you can save your current search as a view by clicking Save current search as view at the top of the filter panel. Views are accessible from the Views tab.
Merging Objects
Merging allows you to combine two duplicate objects into one. The source object is merged into a target object, and the source is deleted afterward. All files, relations, and references from other objects can be transferred to the target.
Objects can only be merged if they belong to the same register and schema. If you want to merge objects from different schemas or registers, you need to migrate them first.
Step 1: Open the Merge Dialog
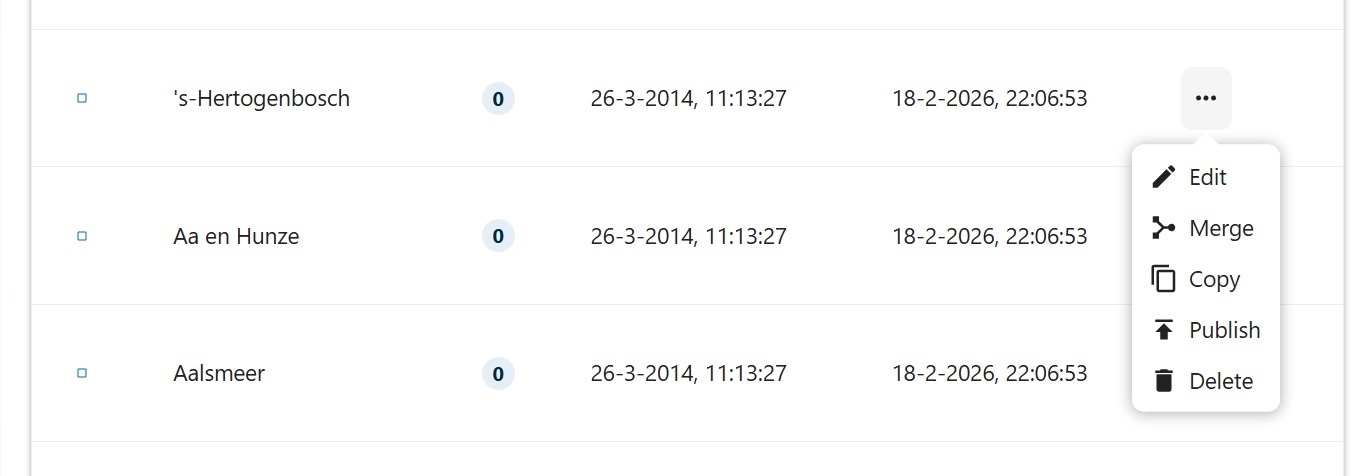
- Find the object you want to merge (the source object) in the object list
- Click the three-dot menu (Actions) on the right side of the object row
- Select Merge from the dropdown menu
Step 2: Select the Target Object
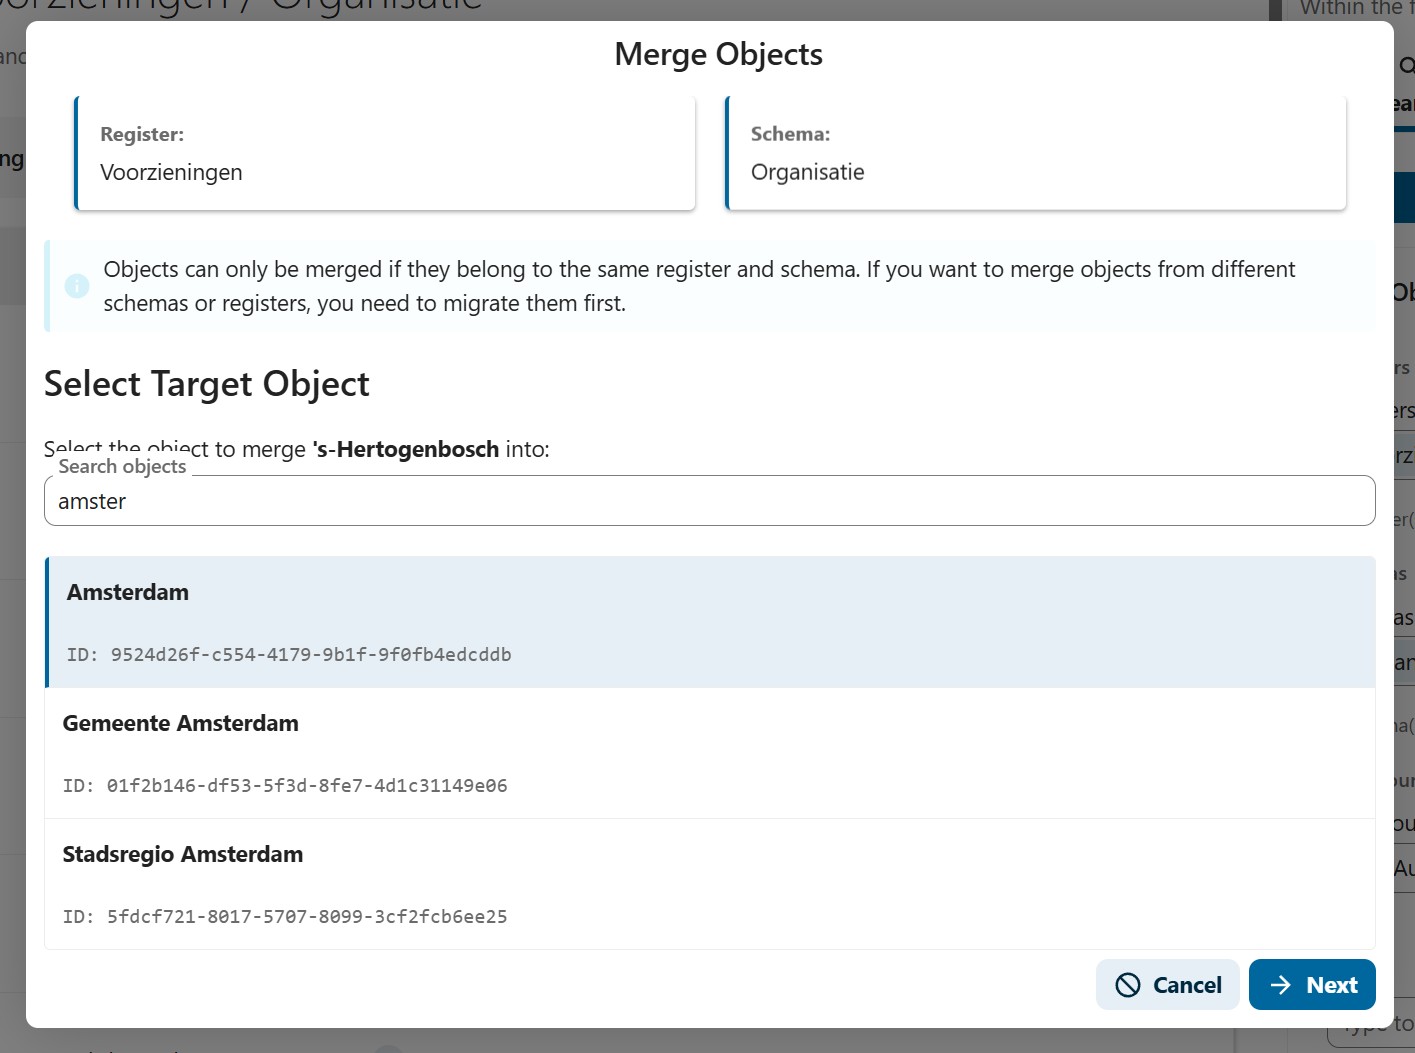
The Merge Objects dialog opens. At the top, you can see which Register and Schema the merge operates on.
- Browse the list of available objects, or use the Search objects field to find the target object
- Click on the target object to select it (it will be highlighted)
- Click Next to proceed

You can search for the target object by typing part of its name. The list filters in real time:
Step 3: Configure the Merge
The configuration screen shows a side-by-side comparison of all properties from both objects. For each property, you can choose what the merged result should contain.
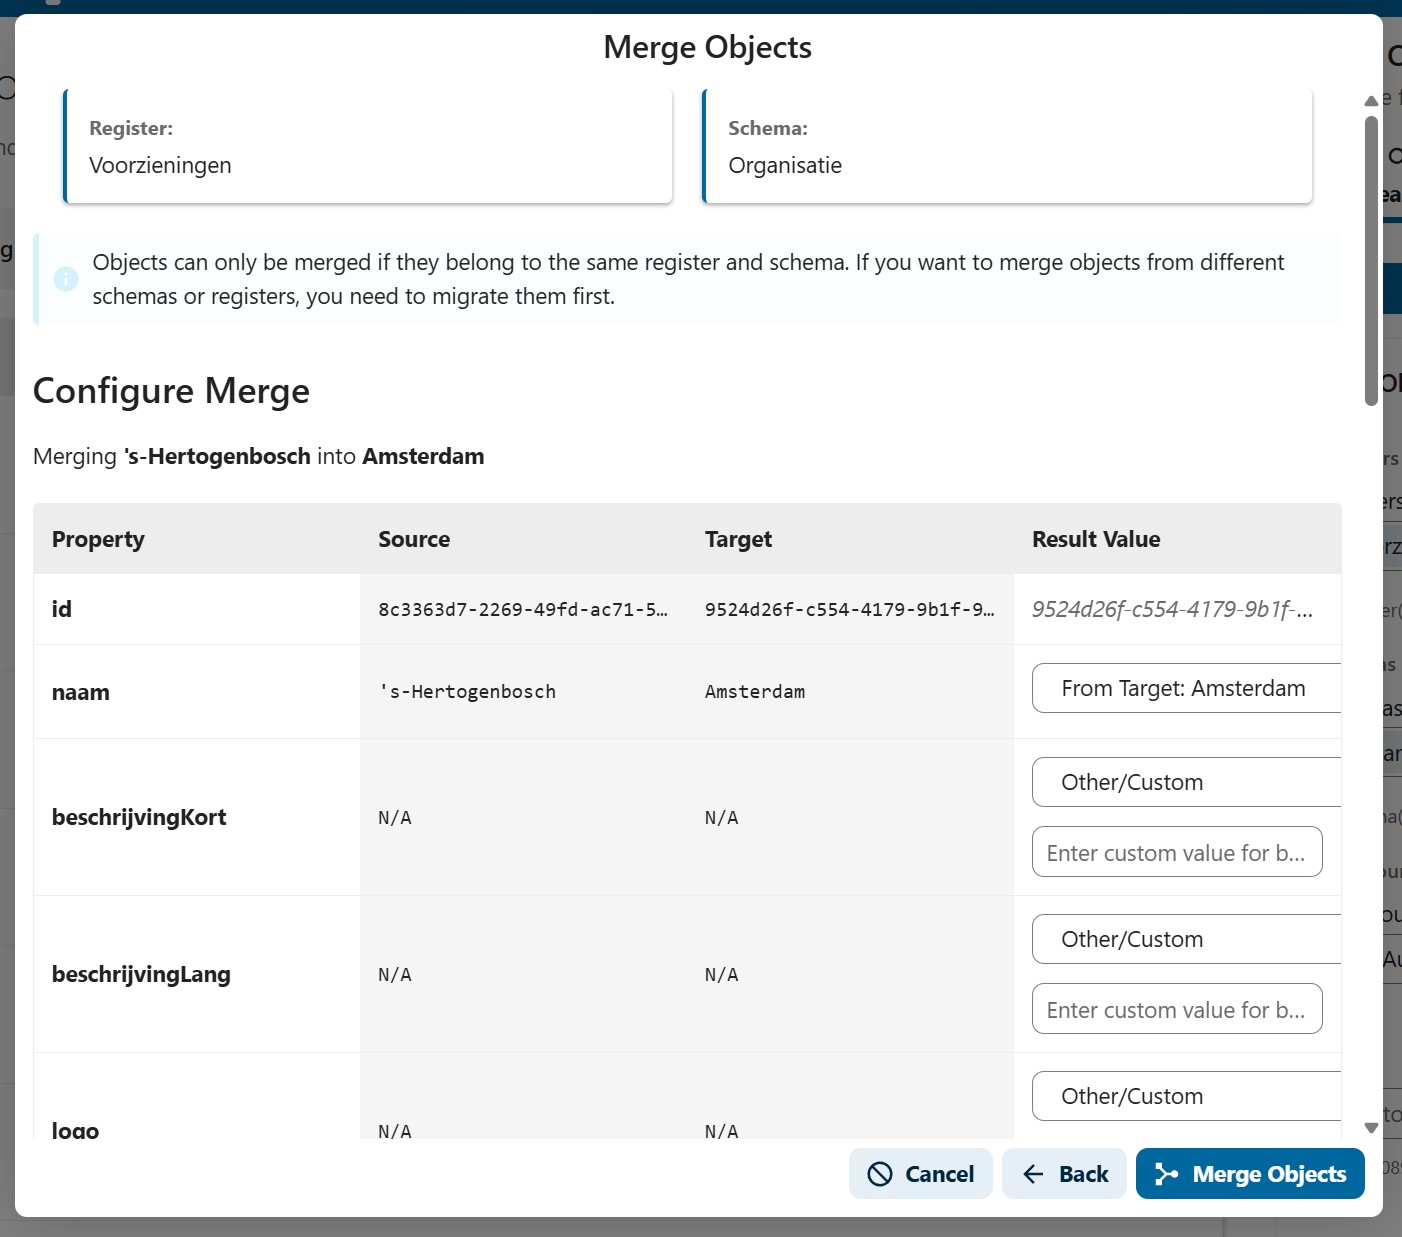
The table has four columns:
| Column | Description |
|---|---|
| Property | The name of the field |
| Source | The value from the source object (the one being merged away) |
| Target | The value from the target object (the one that will remain) |
| Result Value | A dropdown where you choose which value to keep |
For each property, the Result Value dropdown offers:
- From Source: Keep the source object's value
- From Target: Keep the target object's value (default)
- Other/Custom: Enter a completely new value
The id field is always locked to the target object's ID and cannot be changed.
File and Relation Handling
Below the property table, you will see two additional sections for handling files and relations.
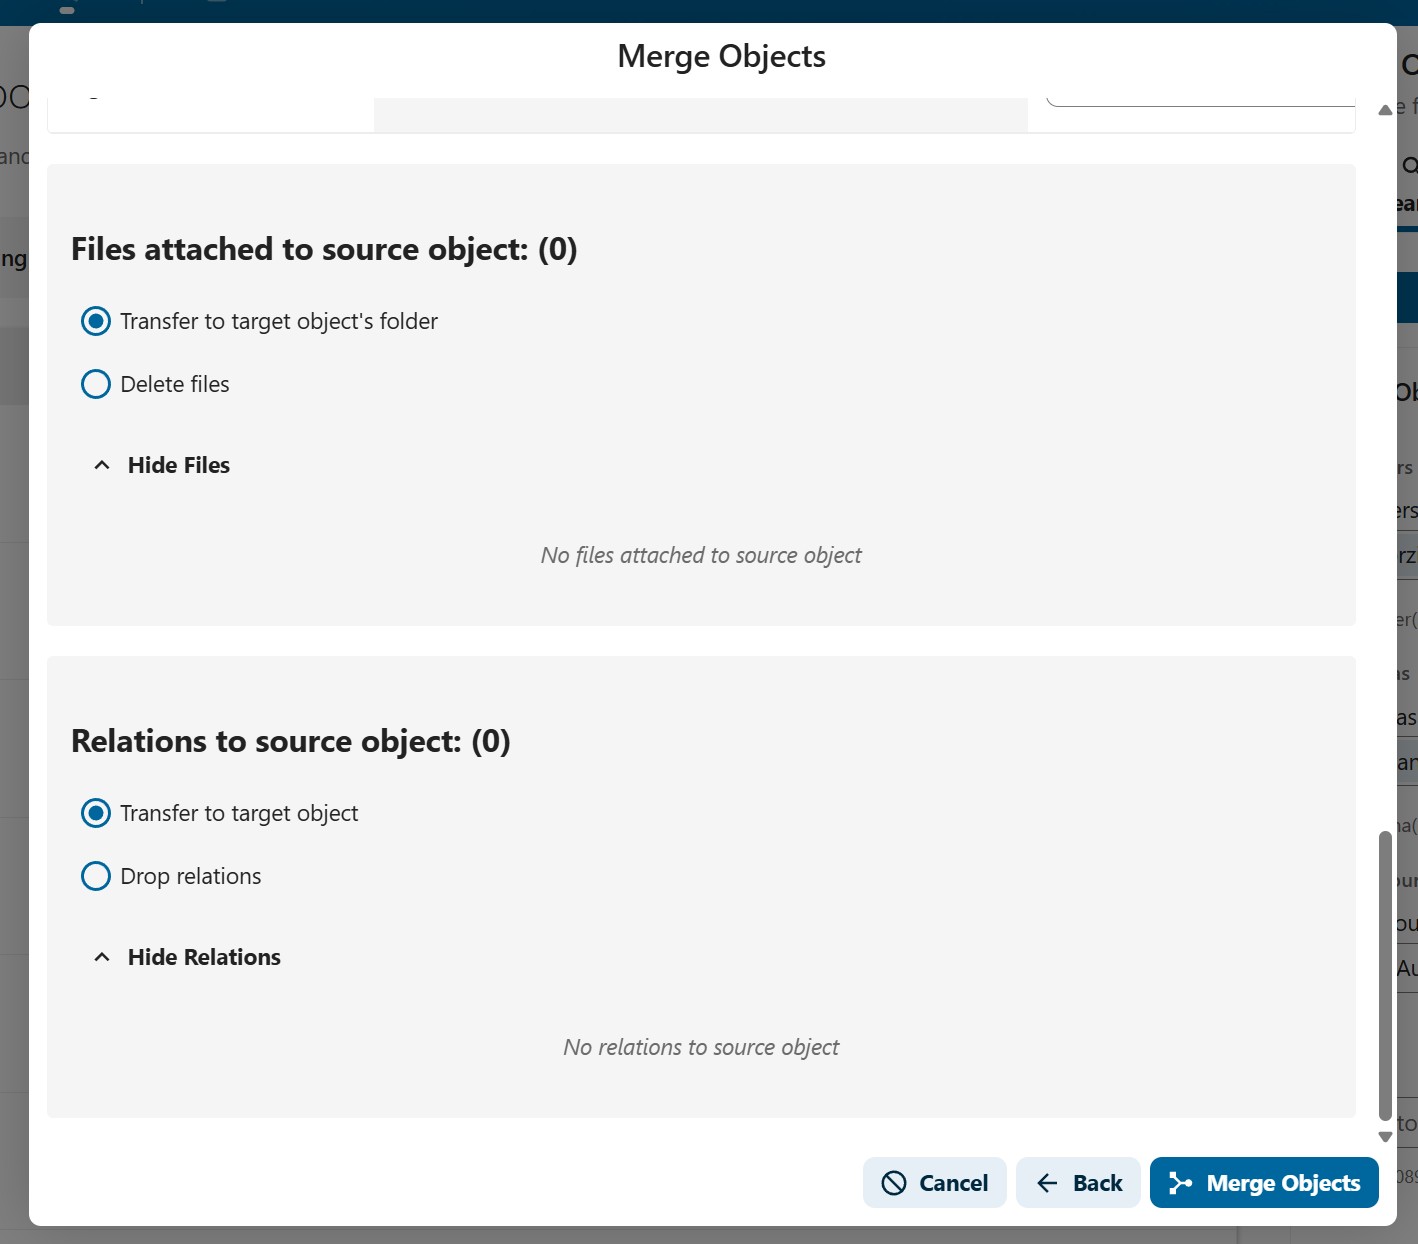
Files attached to source object:
- Transfer to target object's folder: Move all files from the source to the target object (default)
- Delete files: Remove the files when the source object is deleted
- You can expand the file list to review which files will be affected
Relations to source object:
- Transfer to target object: Move the outgoing relations to the target object (default)
- Drop relations: Remove the relations when the source is deleted
- You can expand the relation list to review which relations will be affected
Reference Handling
Other objects may reference the source object. You can choose to:
- Transfer: Update all references in other objects to point to the target instead
- Keep: Leave references unchanged (they will point to a deleted object)
Step 4: Execute the Merge
After configuring all properties and options:
- Review your choices in the configuration table
- Click Merge Objects to execute the merge
- A merge report appears showing a summary and a detailed change log
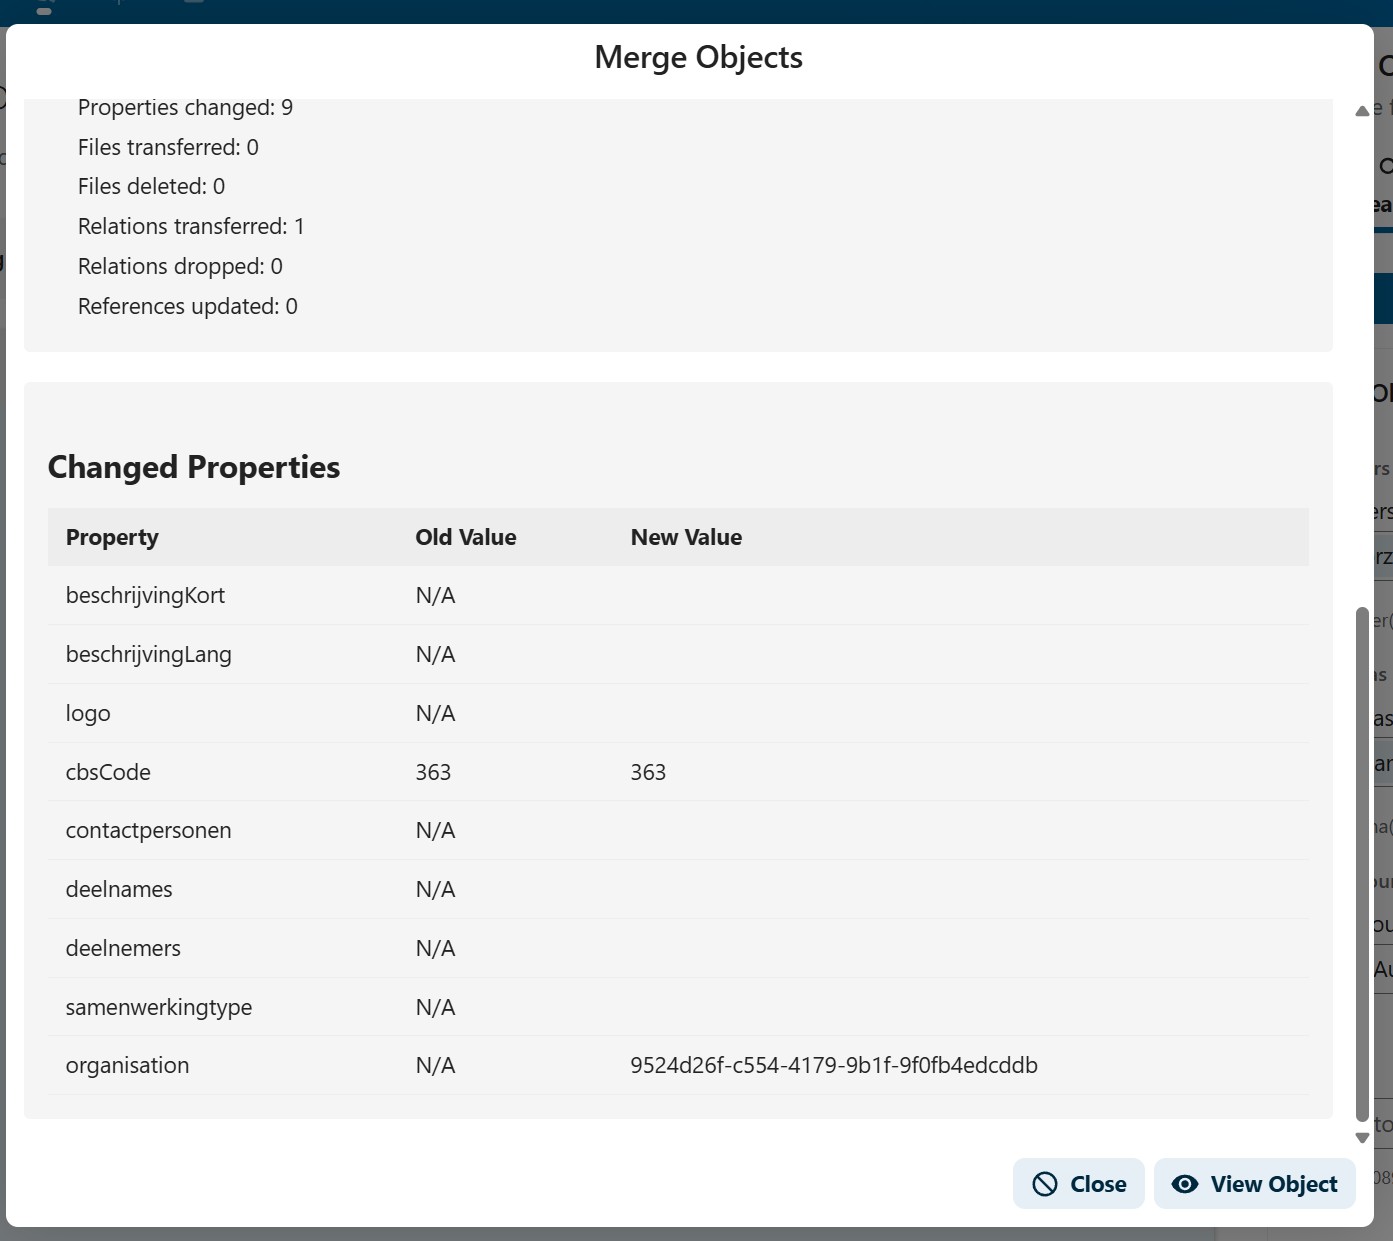
The merge report shows:
- Properties changed: How many properties were updated on the target
- Files transferred / deleted: What happened to the source object's files
- Relations transferred / dropped: What happened to outgoing relations
- References updated: How many other objects had their references updated
Below the summary, a Changed Properties table lists each property with its old and new value, so you can verify exactly what changed.
Click View Object to navigate to the merged result, or Close to return to the object list.
Best Practices
- Search before creating: Use the search panel to check if an object already exists before creating a new one
- Review carefully: Always review the property comparison table before executing a merge — this action cannot be undone
- Choose the right target: Pick the most complete or authoritative record as the target, since its ID will be preserved
- Transfer references: In most cases, select "Transfer" for references so that other objects continue to link to a valid record
- Check files: If both objects have files, review what will be transferred to avoid duplicates